Simple Black Bean-Corn Salsa

Simple Black Bean-Corn Salsa

It’s easy. It’s healthy. It’s Tasty. It’s versatile. I always serve some variation of this with enchiladas (as we know from my previous post that includes garlic, avocado and tomato). Lately, my favorite application for this summertime delight is to throw it into Mexican Quinoa (recipe coming soon). It would also be a great topping for a mexicanesque or southwest style soup.

Black Bean-Corn Salsa

Black Beans, one can drained and rinsed
Sweet Corn (feel free to use canned, frozen, or fresh charred corn)
Half-Red onion – small dice
One Half Red Bell Pepper – small dice
Sweet Corn
Lime Juice
One tablespoon Red wine vinegar
Spices (just a pinch each): Ground cumin, cayenne, adobo, salt
Two Cilantro to taste

Combine the red onion, bell pepper, corn, cilantro and black beans in a large bowl. Mix gently and well. In a small bowl combine the red wine vinegar, spices, and lime juice and mix well. Add the liquid mixture to the onion mixture and toss gently until incorporated. Adjust seasoning according to taste and if it is too bitter add a pinch of sugar.

Yep that is pretty much it, you are done. Enjoy!

Spaghetti Squash with Spinach, Pesto, and Roasted Tomato

Spaghetti squash has become one of my favorite foods (my mother will tell you that she can now see pigs flying across a sky that has fallen to the earth). I was a girl who used to refuse to eat squash of any sort to begin eating spaghetti squash on a bi-weekly basis, but loving something new is one of the beauties of expanding your horizons. Nowadays, I eat butternut squash without regard to the season (sacrilege I know), I add zucchini to ninety percent of my dishes (possibly more), I even eat yellow squash – though I reluctantly admit I am still coming around to it.

I am a textural eater and my aversion to squash has been its texture. Many times in my life I have had squash that was mushy, flavorless, and soggy. The latter two are quite fitting with squash as many kinds have very little natural flavoring and lend themselves well to versatility. Summer squash (i.e. zucchini and yellow squash) boast a high water content which can make them….soggy. Who knew, water makes things soggy? Summer squash are less nutrient dense than winter squash due to their higher water content. Winter squash, including my favorites butternut and spaghetti, is nutrient rich and serves as a great source of carotenes, B1, vitamin C, and fiber.

I digress; spaghetti squash is a little magical thing that can be prepared in a seemingly infinite number of preparations. I love experimenting with different applications and cuisine. My favorite so far is with pesto – shocker – and a sautéed medley of zucchini, spinach and tomato with a tad bit of lemon zest, shallot and garlic. This meal is a powerhouse for the busy week-day health, healthy eater. It is easy, cheap, waist-whittling, and NOM NOM NOM delicious. One cup of Spaghetti Squash amounts to a whopping 42 calories so go ahead and gorge. You can do anything you like to spaghetti squash. ANYTHING. You can hit it up with some meat sauce, though go light on the saucing as it is obviously not as sturdy as pasta. you can make any worldly variation you would like with different spices; you can keep it simple with lemon and pesto, you can add it to soups for a bit of low calorie, carb-like substance; you can even make it into dessert. I tend to have tomatoes that need to be used so I have gotten in the habit of having a roasted tomato with my spinach and squash. Sometimes I will throw in chicken if it needs to be used, but I never miss it if I do not (giving the meal yet another perk…it is vegan).

 Note: The recipe given below incorporates only Spinach, which I always have on hand. It is just as easy to add zucchini when you are preparing the spinach, if you have some on hand. Feel free =) Also, the photo was taken before I added pesto (I only wanted a touch of it being on a diet an all). I have stopped photographing my food for thirty minutes before eating given my time crunch the past four months and this was the only photo I had; normally, the squash is a bit more green. Final Note: ADD ROASTED GARLIC TO MAKE THIS MIND-BLOWING. I roast the garlic with the squash and add it in – you don’t have to, though I have no idea why you would not want to.

It has been a long journey from the PB and No J sandwich girl who turned her nose up at the wonderful squash family, but I am happy to announce my arrival.

Pesto Spaghetti Squash with Spinach and Tomato

Serves Four

One large spaghetti squash, halved and seeded
One recipe sautéed spinach
One baked tomato
Basil Pesto in an amount desired (I like about a quarter cup)
Salt and Pepper
Seasoning as desired (I used cayenne, thyme, pepper, salt, and Italian herbs)
One lemon, zested (I actually used two, but I really like lemon zest)

Preheat oven to 375. Prepare the squash (cut in half, scrape threads in center and rub inside flesh with olive oil). Sprinkle the amount of seasoning desired on the two halves and place meat-side down on a baking sheet. Bake for fifty-five minutes and remove.

Meanwhile, one stove prepare the sautéed spinach and reserve. If using previously baked tomatoes, skip making them and simply reheat when ready. If the tomato has not been previously baked, lightly drizzle with olive oil, top with salt, pepper and fresh herbs and bake for twenty to thirty minutes until tender.

Using oven mitts to hold the squash by its skin, scrape the squash into a bowl with a fork (it should break apart and look like angel hair pasta). Once this is done, strain excess water (some squash are worse than others so you may be able to skip this step).

Combine the squash with the pesto and zest, adding salt and pepper as desired. Mix well. Finally add the spinach and top with the baked tomato. Top with fresh grated pecorino (if you desire) and serve immediately.

Blonde Gumbo

Blonde Gumbo

My wonderful friend Bonnie, our resident NOLA transplant, makes the best gumbo! As soon as she gives me her recipe, I will be replacing this one almost immediately. That said, one week I was craving gumbo. I was stressed out and generally when that happens, I spend a lot of time in grocery stores planning a lot of dishes that I will cook for that week. The problem is, naturally, I plan these meals on my day off when I am not as stressed, as tired, or as bogged down by the day-today bustle. This week I planned to make gumbo and eat it for a couple days, in addition to two fish dishes and loads of chicken pesto salad, veggies, and fruit. Sounds great in theory…keep reading….by the time that I got around to making the gumbo my kitchen was nearly packed as I was moving three days later. So instead of working out, doing hour 14 of my 15 hour workday, or packing, I was laboring for nearly an hour over a roux (which I had wrong from the beginning). This is the definition of “rational” in Andiland. Apparently, three degrees and nearly 100k in college costs cannot buy you common sense…but that is another story….

The gumbo came out very tasty – it did not however taste exactly like gumbo due to the roux failing to brown because I was too scatter-brained to do it properly. However, the soup was tasty and gumbo-like if nothing else and there was a ton of it.

Note: As much as I love seafood, I dislike seafood gumbo – crime, I know. I always use or eat chicken or duck and sausage gumbo. Make yours whatever way you like.

Blonde Gumbo

Serves 6

Two cups Roux, recipe follows
Two cups diced onions
One cup diced celery
One green bell pepper, diced
One pound Okra, washed sliced into 1/8 inch pieces
Four tablespoons finely chopped garlic
Three quarts chicken broth (preferably homemade)
One pound Bone In chicken thighs or quarters
One pound chicken breasts, bone in
Three or four links of Andouille sausage, sliced into 1/4-inch thick rounds, browned in a skillet, and drained on paper towels
Two bay leaves
One tablespoon Worcestershire sauce
One tablespoon (or more to taste) Tabasco hot sauce
Cayenne to taste
A couple good pinches of salt
One tablespoon freshly ground black pepper
One bunch green onion, chopped
Half-cup coarsely chopped parsley
2 tablespoons chopped fresh thyme leaves
1/2 cup file powder, or to taste
Pinch each of: Paprika, Oregano, Garlic and Onion Powder (to taste)
Steamed White Rice and Crusty French Bread, for serving

*Make Roux first. I have included Emeril Lagasse’s roux directions, because I am not the person who should be telling you how to make at roux –yet.

Emeril Lagasse’s How to Roux:

3 cups oil
5 cups flour

Place a dutch oven, (or iron skillet with deep sides) over medium heat and heat the oil until just smoking. Whisk in flour, a little at a time and cook, whisking constantly, until roux becomes smooth and thick. Continue to cook, constantly stirring with a wooden spoon and reaching all over bottom of pan, until roux darkens to desired color. Be careful not to produce specs of black. The roux must remain an even color throughout process. If specs appear you must start over.

For a Light Brown Roux, cook the mixture, over medium heat for 1 1/2 hours, or until the color of peanut butter. Remove about 1 cup of the light colored roux, cool completely.

For a Medium Brown Roux, cook the mixture, over medium heat for an additional 30 minutes, or until the color of a copper penny when ready. Remove about 13/4 cups of the medium colored roux, cool completely.

For a Dark Brown Roux, cook the mixture an additional 35 to 45 minutes. The color should resemble dark chocolate when ready. Remove all of the remaining dark roux from the pan and cool completely.

Yield: about 4 1/2 cups roux

NOTE: The timings for various shades of roux will vary depending on the cooktop as well as the amount of roux made. (A smaller amount will cook in much less time.) If this is your first time making a roux, the slower you cook it, the less likely you will be to burn it. The important thing is to cook the roux to the desired color, as specified above.

For Gumbo stew

Season the chicken with salt, pepper, and Cajun seasoning of choice. Sear chicken on both sides until just brown in a large dutch oven/stock pot, working in batches as necessary. Remove chicken from pan and reserve. Add sausage links to the pan (before slicing them) and brown well. Remove, cool, and slice. Add the roux to the pot and heat over medium heat, adding the onions, garlic, celery, bell pepper and a pinch of salt when hot. Saute for about five minutes.Slowly pour in stock, whisking constantly to prevent lumps from forming. Add the chicken, browned sausage, bay leaves, Worcestershire, Tabasco, cayenne and other herbs and seasonings, salt, and pepper. After about an hour, add green onions and parsley. In a separate pan, flash fry the okra and then add to the soup. Slowly add file powder and sprinkle and stir well for about two minutes. Remove from heat and serve with rice and crusty, hot French bread.

Green Chile Chicken Stew

Green Chile Chicken Stew

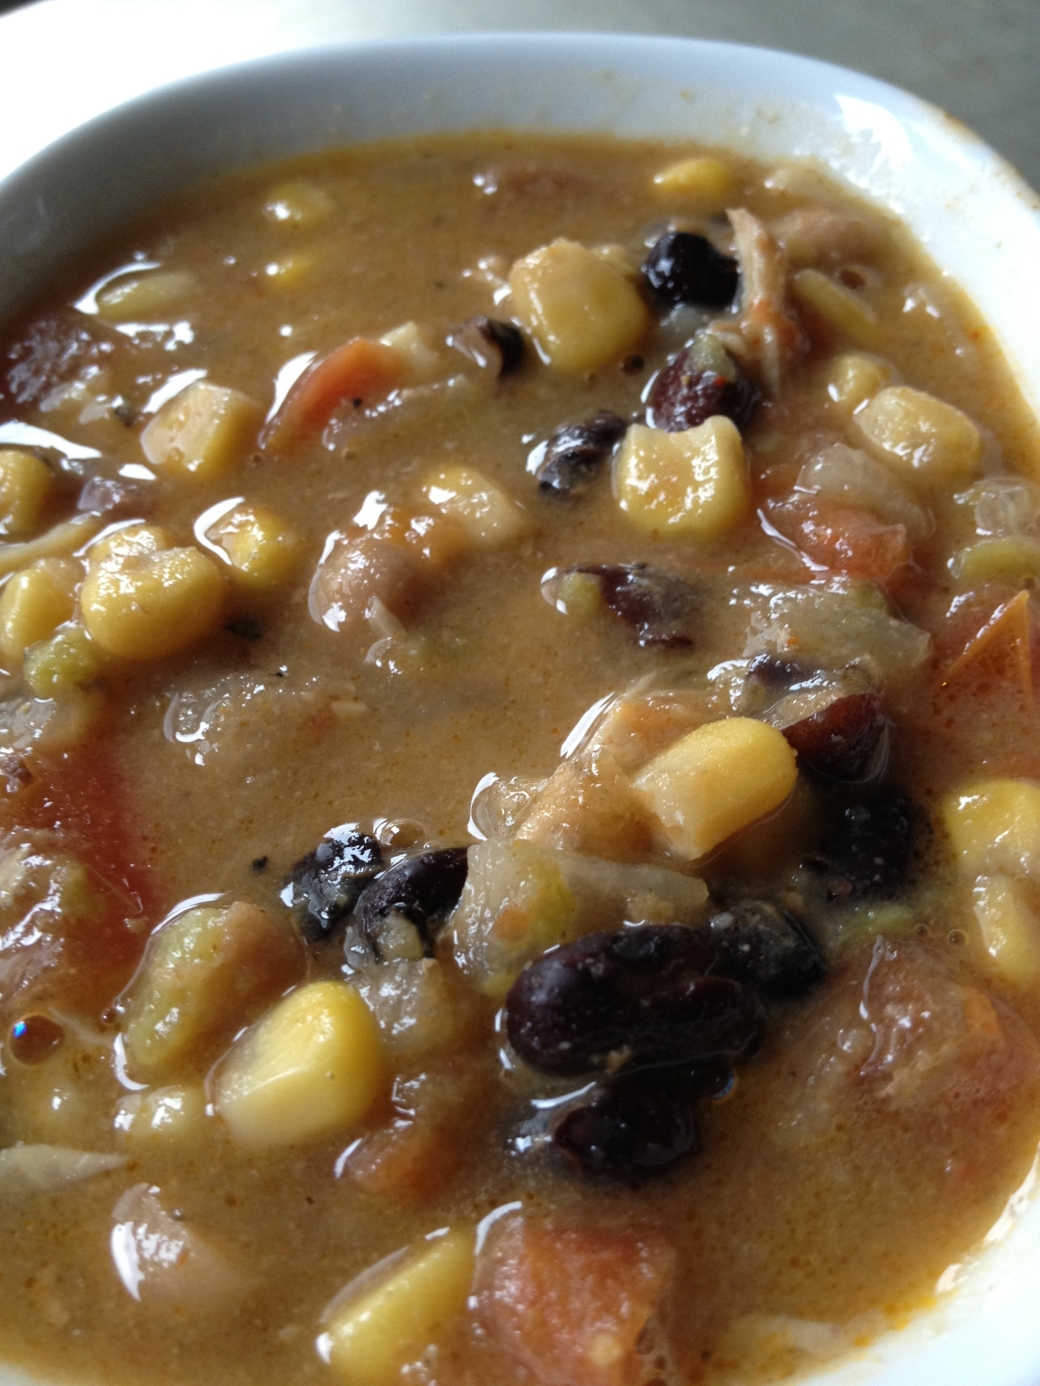
D and I recently upgraded to a two bedroom – meaning my office and one bedroom – house with a yard for Foster Brown. This is an astronomical improvement over apartment living (no offense to apartment lovers – I have only lived in three apartments for a total of three years and there is a reason for that). However, the upgrade was to a house with a small, older fridge and freezer than I have had since….2001? Why did anyone every design a fridge with a freezer on top? Freezer on bottom people! Anyway,  I basically have to cook with a lot of frozen food at the moment and am slowly emptying the freezer to make room for ice trays (yes it is that old and yes I am a bonafide appliance spoiled brat). My mom gave me a bag of homemade (though what home it came from I cannot tell you) green chili sauce and it fell victim to the teeny tiny freezer. The nice thing about freezer cooking is that I basically had everything I need for what I envisioned as “Green Chili Chicken Stew” (which I have been craving since my Mom made Green Chile and Turkey White Bean Chili a few weeks ago). So Monday night after I made my actual dinner, I threw thawed chicken breasts and green chili sauce with other pantry items and let it cook on low heat overnight. Woke up the next day and the house smelled amazing and I had lunch and dinner just waiting to get in my belly!

Note: I did not do this because I honestly did not have time to get to the store, but I planned on adding cilantro and avocado as garnish. I did miss it a little bit – but I am overly enamored with both of those ingredients so you may not.  Also, feel free to use chicken thighs – you will get more flavor out of them. Breasts are a) healthier and b) were in my freezer; but, thighs are tastier and cheaper – your call.

Green Chile Chicken Stew

Serves Four

One whole chicken breast, cut into halves and seasoned with favorite season combo
Two and a half cups favorite homemade Green Chili Sauce
One White Onion, diced
Seven Cloves Garlic, minced
Half-Tablespoon Crushed Red Pepper
Two Tablespoons Ground Cumin
Half Tablespoon Ground Coriander
Salt
Pepper
One half can black beans, drained and rinsed
One can Cannellini Beans (or other white bean)
Two to three cups Chicken Stock (preferably homemade)
One can Whole Kernel Corn

Sear the seasoned chicken breasts in a glug of olive oil. Remove from pan and add onion and garlic and a pinch of salt. Saute until glassy, add beans, corn, chicken breasts, green chili sauce, chicken broth, and spices to the pan. Let simmer for about twenty minutes, then check and adjust seasoning as desired. Let cook up to 10 hours.

Serve with lime wedges, cilantro, sour cream, green onions and/or avocado as garnish.

Zucchini Ribbon Salad with Seared Scallop

Zucchini Ribbon Salad with Seared Scallop

This is a warm, satisfying salad. It’s a dish that tastes as wonderful as it makes you feel healthy. The entire dish may be 300 calories total – and most of that is olive oil. I added very thinly shaved apple to brighten the dish and help bring out the scallop’s sweetness. I was out of fresh lemons that day, but feel free to use a (very little) bit of zest to really brighten the flavor of the veggies.

The scallops I bought for this dish were HUGE!! I have never seen U-10s this big. They were more like U-6 scallops. And they also happened to be some of the driest scallops that I have been able to buy away from the coast. Ergo, the size made one per person a perfect portion. Lucky for me D doesn’t eat fish so I ate both….they were glorious.

Zucchini Ribbon Salad with Seared Scallop

Serves two (or one in Andiland)


One Zucchini, sliced lengthwise into thin ribbons
Three cups Baby Spinach
One large shallot, thinly sliced
Two Garlic cloves, finely minced
Two Large U-10 scallops
About a cap full of white wine (optional)
One-Half Pink Lady Apple, very thinly sliced with a peeler
Fresh Squeezed lemon to taste

Wrap the scallop in a paper towel and let drain for at least a half hour. Prepare veg whilst the scallop dries out. In a large skillet (or cast iron), sauté the garlic and shallots with a bit of olive oil. After about seven minutes, hit the pan with a (very) small amount of white wine and add spinach. Allow spinach to wilt just slightly and then add zucchini ribbons., add a pinch of salt, a good amount of fresh ground pepper, . Meanwhile, heat about a tablespoon of olive oil over a medium high heat and add scallop that has been dusted with salt and pepper. Cook for two minutes per side (the scallop should have a nice brown caramelization on it).  Spoon the greens onto a plate, top with scallop and shaved apple.

Raspberry Champagne Vinaigrette

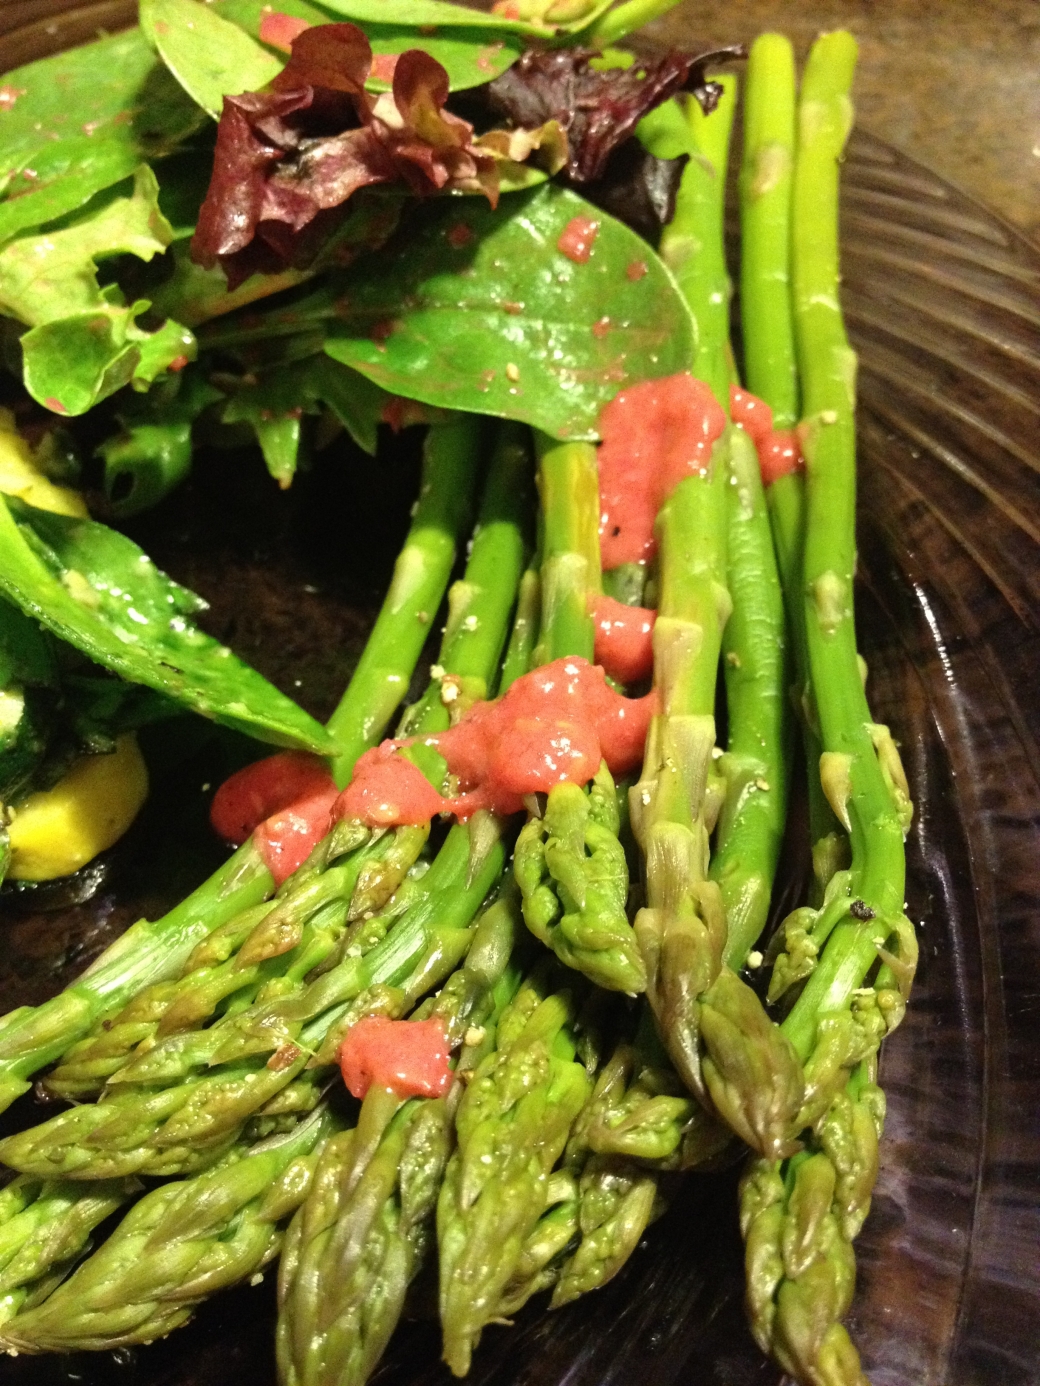
I was making dinner recently and one of my besties (and new neighbor) needed to do laundry. Being that I love to feed people, I was ecstatic to make her belly happy. She needed to use some raspberries that were almost bad, some spring mix and some arugula. I was determined to fit everything into the meal so the menu took on the form of a veggie lovers dream…our appetizer was brown butter roasted brussel sprouts and the main dish was spinach basil pasta packed with steamed asparagus, zucchini, squash, arugula and spinach with a pesto sauce and sides of steamed asparagus and mixed greens salad with Raspberry Champagne Vinaigrette. The whole meal took about thirty minutes of actual cooking time and was delicious! I used less olive oil than I call for here (also know that you can use Grapeseed oil if you have it on hand) just to decrease fat and calories. Hey even if they are good fat calories, they still can add to the cellulite situation that creeps up in unison with age brackets. I also added more lemon and thought that the end result was a little to acid heavy, though really it was fine (especially for someone who likes lemon). I ended up throwing a pinch of sugar in as well to help sweeten the raspberries. If you make this in the summer you should not need to add extra sugar as the raspberries will be in season.

 Raspberry Champagne Vinaigrette

One pint Raspberries, very ripe
Half cup olive oil
Salt, start with a pinch then add as desired IN VERY SMALL AMOUNTS
Pepper, start with a pinch then add as desired
Pinch Cane Sugar
Juice of one half of lemon
Four Tablespoons champagne vinegar

Mix all ingredients except oil in a small food processor. Slowly add the oil to the food processing as it runs on a medium setting. Taste and adjust as desired.

Serve over mixed green salad and steamed or roasted asparagus.

Roast Chicken

Roast Chicken

The number of recipes that call roast chicken ‘perfect’ is astounding. Not without reason, well-executed roast chicken is the definition of perfection (the quality or state of being perfect: as. a : freedom from fault or defect : flawlessness). The simplicity of a handful of quality ingredients make roast chicken sing with exceptional flavor, tenderness and juiciness. If you want to hear it hit the Christina Aguilera notes (it is possible that I am watching The Voice in a post chicken coma – I am not actually her PR person), then take the time to brine it, air dry it, stuff it and rest it before devouring it. There were several mishaps along the way to this roast chicken. First, I have never made a whole roast chicken. I think I may have tried once years ago – with decent results – but it was when I was first embarking on my cooking journey and really just don’t remember; ergo, I consider myself a roast chicken virgin and was frantically pulling cookbooks from their current state of disarray after the move to work up a plan when I threw my hands in the air and just made my own – par for the course. Second, I was simultaneously roasting garlic to sweet, gooey perfection for a roasted brussel sprout and asparagus dish and the oil managed to seep out causing the oven to smoke profusely. Third, the oven has not been used, but once since we moved in last week and it was on a cool 500 degrees, so the gas fumes of a rusty oven were considerable. The fire alarms were going off, the dog was freaking out, there are now bugs everywhere, and – in the end – all this means that I opened the oven door more times than ideal (ideal being NONE) when roasting a chicken. You will want to cook yours less (by about five minutes) to make up for the normal Andi shenanigans.

I could eat a hundred roasted chickens, this coming from a girl who really does not care much for chicken. Every recipe is different and every recipe is amazing and I feel like posting roast chicken is somewhat offensive to other chicken roasters. But then, no cookbook is complete without it. The art of chicken roasting depends much less on adherence to recipes and much more on feeling the food, adapting as necessary. Your cooking time will be different with different sizes, as will your seasoning amounts. Brining is an essential part of the roasting process. The longer the better. Overnight is ideal, up to two days just makes it better. After brining, you want to let the chicken air dry in the fridge overnight, up to a day and a half. Both of these steps will help you yield a perfect crispy skin. About an hour to an hour and a half (two depending of chicken size), pull the chicken from the fridge and let sit at room temperature to allow chicken to cook properly. After cooking, you must let the bird rest for at least twenty minutes so that the juice redistributes and you don’t lose all that drippy magic that is soon to be running down your chin.

Use the juice in the pan to make a gravy or just drizzle over the chicken as is. I roast my birds over parsnips (sometimes with the addition of beets and carrots), garlic and onions. Parsnips are better much the best root vegetable in the world and when they cook in chicken fat, they will blow your mind with just how luscious and dang tasty they can be. If I can save any whole ones from my mouth whilst the chicken is cooling, I like to make a parsnip puree to place the chicken atop of – perhaps with some roasted garlic and fried sage and caramelized onion. Drool. Feel free to add carrots, parsnips, Brussels sprouts, or potatoes to your “chicken bed;” alternately, use a roasting pan and rack and avoid the veggies, reserving the jus for gravy.

Note: I used a four pound, organic whole chicken. I also kept the onions and garlic from the roasting pan and made then into a sandwich accoutrement the next day. Toasted whole grain, arugula roast chicken, roasted garlic and onion marmalade sandwiches don’t suck. At all. And now I am drooling again. 

 Roast Chicken

Serves Four, plus some leftovers

Brine

One quart (four cups) hot water

Three Quarts cold water

One scant cup Kosher Salt

One fourth cup Sugar

Boil one quart water, add salt and sugar and allow to dissolve, add cold water and the chicken. Squeeze a tad bit of fresh lemon if desired.

Chicken

Inside

One onion, sliced 

Three celery stalks, sliced

One whole head of garlic, cut in half

Half bundle of Thyme

Three sprigs Rosemary

Kosher Salt (about five tablespoons)

Black or white pepper (around four tablespoons – to taste) 

Two Lemon Halves

Mix all in a bowl well and stuff inside the chicken. Use a toothpick or kitchen twine to close the opening with a small braid or by tying the legs together.

Outside and under skin

Five Sprigs thyme and some chopped rosemary (to taste)

Half stick butter, room temp

Kosher Salt (about four tablespoons)

Black or white pepper (around four tablespoons – to taste) 

Juice of one lemon

Roast garlic-rosemary compound butter would be wonderful if you have some

Combine the butter, herbs, three tablespoons salt and three pepper and mix well. Lift chicken skin and rub the butter mixture all over chicken. Apply rest of salt and pepper to top of skin and spritz with lemon.

Chicken Bed

One white Onion, thick slices

One head garlic, in skins

Four celery leaves, rough chop

Three to Four Large Parsnips, sliced into quarter inch pieces (half the larger pieces near top)

Tablespoon butter

Three tablespoons (heavy) olive oil

Heat roasting pan in the oven at 500 degrees. Add the oil, butter, and veggies (salt slightly). This will sizzle, stir, then top veggies bed with chicken and return to oven. Add broth (or butter) as necessary to avoid burning the veggies (though some caramelization is ideal).

Remove pan from oven after about 45 minutes (a thermostat should read around 160 when inserted into the thickest part of the chicken). Allow to rest for twenty minutes at a minimum to allow juices to redistribute. Carve and serve drizzled with the pan jus (and the onions) as desired.

Bacon-Wasabi Slaw

Bacon-Wasabi Slaw

Here is a fact about me: I hate mayonnaise. Whole-heartedly. I am not really a fan of anything with a mayo-like consistency, but I have been able to work yogurt and sour cream into recipes so long as they are fully incorporated and not eaten off a spoon and allowed to slither down my throat leaving my tongue all slimy feeling. But it goes further than that just hating the texture of mayonnaise – I hate the taste of it.  I don’t love the taste of yogurt or sour cream, but it is mild enough and generally adds to dishes that call for it. Mayonnaise just tastes wrong. Something about two dozen eggs just sitting on the shelf in a Hellman’s jar just waiting for its next unfortunate victim really funkifies that rancid stuff. I use replacements for nearly every mayo recipe: yogurt is the ingredient in my chicken salad; Kewpie – Japanese mayo which is far superior to American mayo (and even then only gets in my mouth when combined with an alarming amount of Sriracha or wasabi paste), and yogurt for slaw. The only mayo I tolerated was Central Market’s Organic Garlic Mayo and really that was only a tablespoon that had gone into some tuna salad and eventually got thrown away from non-use. So we get it, I hate mayonnaise.

This brings me to cole slaw. As a Texan, I appreciate BBQ. Albeit, not as much as some people but  I just can’t eat ten pounds of meat without needing to go to sleep for at least 12 hours and I am just too busy for that. What gets me is that as good as BBQ is, how did cole slaw make its way into the mix? I have not EVER been able to understand why ANYONE would have any part of the cole slaw abomination. It manages to combine two things I dislike most – mayo and vinegar all in one soggy mouthful. I get it – a slaw of some sort is delightful with BBQ to cut the heaviness of the meat…just leave cole out of it.

Recently, I was lucky enough to cook the sides for a baby shower for some dear friends. Their menu wish was BBQ. James – the male host – made the most mind-blowing, crack-like, succulent pork shoulder I have ever enjoyed (read gorged on) and some delicious brisket on his Texas-sized smoker. The thing is so big it will not fit in the garage or back yard and lives attached to his truck. Hey, everything is bigger in Texas. I was in charge of making the sides (which included crockpot beans, Hatch Green Chili Mac and Cheese) and decided that to feed a crowd BBQ without slaw was an injustice to BBQ. Thus, in an attempt to be traditionally non-traditional, Bacon-Wasabi slaw lightly dressed with Greek yogurt and bacon grease is born. I actually had a taco recently that boasted “Wasabi Bacon Asian Slaw” and, though it was good, it lacked the flavor punch and crunch I was looking for. So, using Boss Hogs tacos as my inspiration, I went about making up a recipe for “cole slaw” that I could stomach. The result was awesome and I stomached it everyday for a week.

This slaw will match any number of things (tacos, bed for grilled chicken, topping to beans, topping to beans and pork shoulder, side salad, etc.), budget-friendly, bacon filled, fresh and …most importantly…..MAYONNAISE FREE!!!The bacon grease really gives the dressing a smokey, God’s meat quality but feel free to skip this step or reduce the amount you include for health reasons. This recipe made a ton of slaw, which I enjoyed for about five days after the party.

Bacon-Wasabi Slaw

Slaw

Half Head Red Cabbage or Radicchio
Half Head Savoy Cabbage
Three Cups shredded carrots
Two red apples, julienned
One package thick-cut, applewood smoked bacon, baked until crispy and roughly chopped (grease reserved)
A couple pinches kosher salt
Black pepper to taste

Dressing

Juice of one lemon
One cup Greek yogurt
One half cup wasabi paste (feel free to add more to taste)
Reserved bacon juice (aka juice of God’s meat)

Combine all veggies, bacon pieces and fruit in a large bowl. In a smaller bowl combine all dressing ingredients and mix well. Mix dressing ingredients together well, taste and adjust as desired. Add dressing to veggies, with salt and pepper. Stir well and then taste. Adjust seasoning as necessary.